Graphics and Photo Editing
Your task:
Your goal for this skill set is to be able to edit a photo using many different programs. There are programs in the 'photography' folder on the iPads. You can choose which one you like best. There are also some online programs that you will use. After this skill you will be a versatile photo editor.
Your goal for this skill set is to be able to edit a photo using many different programs. There are programs in the 'photography' folder on the iPads. You can choose which one you like best. There are also some online programs that you will use. After this skill you will be a versatile photo editor.
Level 1 - - - Save an image from the internet, change format
- Before you can edit a photo, you need to have a photo! Go onto Google Images and find a picture.
- Once you've found one, right click on it.
- Click on 'Save image...'
- Find your server folder (Server>Your level>Your class>Your name)
- Don't click 'Save' yet.
- Save the picture as a .jpg (JPEG). To do this, right below the file name, there is a drop menu. Click on the downward arrow and select .JPG. This is one format for a file. Look at what the other ones are.
- After you've selected .jpg, click save.
Level 2 - - - Editing on the iPad
Step 1:
Step 2:
Step 3:
Step 4:
Step 5:
- Take pictures with the iPad camera.
Step 2:
- Edit them however you like best. Crop them, change the angle, change the color or lighting, etc.
- You can use 'Photos', 'Photo Editor', 'Snapseed', or 'Photoshop Mix' to edit.
- Make sure the editted pictures are saved to the iPad.
Step 3:
- To stitch multiple images together, use the app called 'Pic Collage'.
- You just have to click to add pictures (there isn't a straight template if you are doing your name, luckily, you don't have to use a template).
- Arrange, rotate, resize pictures any way you wish.
Step 4:
- To print, you must email yourself (or to [email protected] if you don't have a Wingra email).
- Then you can print from there (right click>print>(look at preview to ensure it is on one page)>Tech Lab Dell Color>Print).
- Go to step 5 if you don't want the Pic Collage watermark.
Step 5:
- Download your collage from your email to the desktop or your server folder.
- Open paint (Start>All Programs>Accessories>Paint).
- Open your picture (File>open>[where ever you saved your image])
- Click on the box or the eraser tool from the left toolbar. Scroll down to the watermark. Cover with either a white box or erase it.
- Print Preview(File>print>Tech Lab Dell Color and Shrink to one page)
- Preview your image first!
- Then click print if it is all on one page.
Level 3 - - - Editing in Picasa
Download at least 5 of the following pictures to your desktop or server folder.
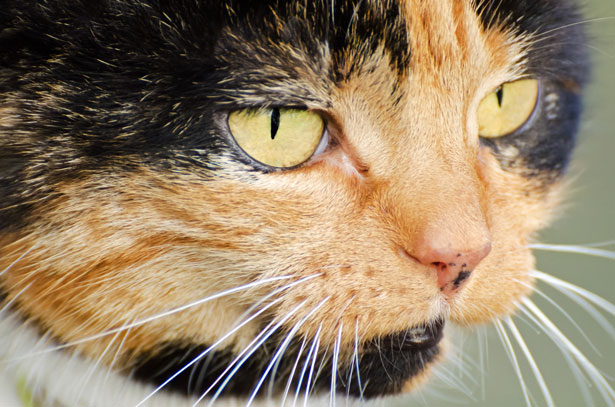
cat-macro
duck-ringed-teal
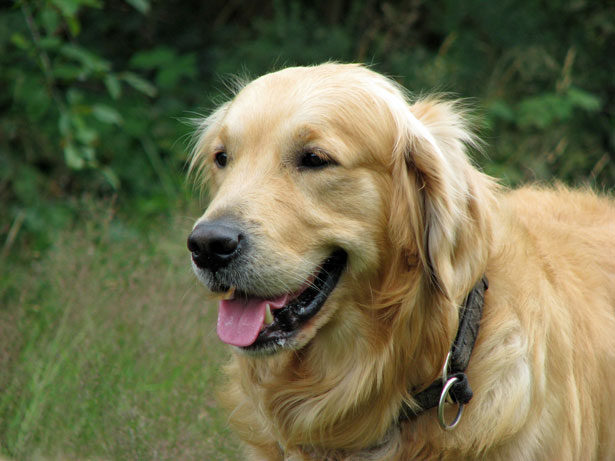
golded-retriever-dog
hello-clip-art
in-the-forest
love-text
matterhorn
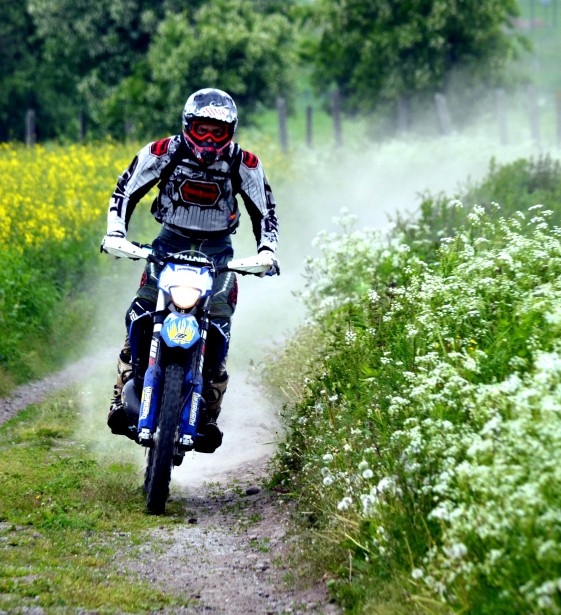
motorcyclist
sea-beach-and-hotel
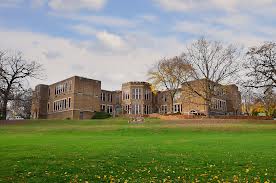
wingra
cat-macro
duck-ringed-teal
golded-retriever-dog
hello-clip-art
in-the-forest
love-text
matterhorn
motorcyclist
sea-beach-and-hotel
wingra
Open Picasa and edit them.
- Change the size on one.
- Make one black and white or grayscale.
- Saturate the color on another.
- Crop one to focus on one item.
- Do something else to the fifth image.
How to submit:
Email your pictures to Andrea ([email protected]) with your name in the subject.
Email your pictures to Andrea ([email protected]) with your name in the subject.
- To do this, you'll go to your email.
- Compose
- Enter my address in the recipient bar.
- Enter your name as the subject.
- Click on the paper clip to attach a file.
- Find your file.
- Click open or attach (it may say something different, essentially it is the okay button)
- Describe what you are attaching in the message body.
- Click Send.
